I realize that I'm not the next greatest food blogger, and that's fine... I really do not have that ambition. I enjoy taking pictures of my cooking process because it's fun and relaxing and there is a lot of beauty in food. One day, I hope to have kids of my own and I want to be able to pass the joy of cooking down to them. I've learned to cook by using photo tutorials and recipes that include step by step pictures. My idea is that one day I'll have a good collection of photo led recipes for my children when they get older so that they will learn to make the recipes of their childhood.
In honor of childhood I want to share one of my favorite treats to make- oven fried chicken fingers!

Preheat the oven to 425 degrees. Brush 1/4th cup of olive oil on a rimmed baking sheet. See all of the brown on the pan.... these chicken fingers have created those marks.... I'm just preparing you for it!

Take 3 chicken breasts and cut each into 4 strips. (Note... I only used 2)

You'll need 3 shallow bowls. Add 1/2 cup flour to one bowl, 4 egg whites to another, and 1 cup of bread crumbs to another. Easy peasy folks!

To each bowl add 1 teaspoon of kosher salt and a few cracks of pepper

To the breadcrumbs add 1/2 cup of freshly shredded or grated Parmesan cheese. Then add 2 teaspoons of your favorite herb seasoning mix. (Another alternative is 1 teaspoon of freshly chopped parsley and 1 teaspoon of thyme) Mix up the ingredients in all 3 bowls.
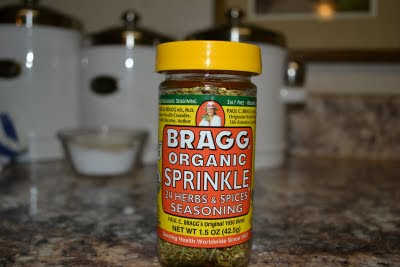
This is my favorite seasoning. My parents introduced me to it. I don't know where it's sold other than Whole Foods.... hopefully the OKC Whole Foods will open before this bottle runs out! I love this stuff!

One by one.... dip a strip in the flour...coat well... shake off excess... then coat with egg mixture... then roll in the bread crumb mixture. Place on pan.... do this with all of the strips. (I didn't take pictures of each step because it was almost 7 and I was getting a little speedy)
ALSO! At this point you can put them in the fridge uncovered for a few hours and it will actually make the crust crispier... I didn't do it this time though.
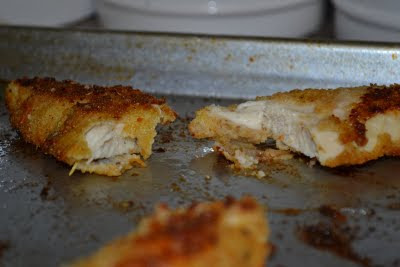
Bake for 8 minutes. Then flip each strip and cook 10 minutes longer. Be sure to cut into the largest strip to make sure there is no pink!
These are real easy to make but do involve some love and anyone you make them for will enjoy them! Also... if you have kids it seems like this could be fun to make with them.... let them get the dirty fingers instead of you!
Here is the quick recipe:
Oven-Baked Chicken Fingers from Williams-Sonoma's Family Meals Cookbook
Ingredients:
1/4 cup olive oil
1/2 cup all purpose flour
4 large egg whites, lightly beaten
1 cup plain bred crumbs
kosher salt and fresh ground pepper
1/2 cup freshly grated or shredded Parmesan
1 teaspoon fresh thyme & 1 tablespoon of chopped fresh parsley (OR 2 teaspoons of your favorite herb seasoning)
3 boneless, skinless chicken breast halves, each cut into 4 strips
Process:
1. Preheat oven to 425. Pour the oil into a rimmed baking sheet.
2. Place the flour, egg whites, and bread crumbs into 3 separate bowls. Line them up in that order. Season each bowl with 1 teaspoon of salt and a few grinds of pepper. Stir the Parmesan and herbs into the bread crumbs.
3. One at a time, dip the chicken pieces into the flour and tap off the excess, and then dip them into the egg whites and allow the excess to drip off. Finally, roll in the bread crumbs and place on the prepared pan, spacing them 1-2 inches apart. (At this point the chicken can be refrigerated, uncovered, for a few hours. The coating will dry out a bit and will crisp better in the oven)
4. Bake for 8 minutes. Turn the pieces over and continue to bake until golden and opaque thought, 8-10 minutes longer. Serve right away!
Serves 4-6
No comments:
Post a Comment